CAMERA STRAP WITH LENS POCKET TUTORIAL
Materials Needed:
2 Contrasting Fabrics (you really only need a small amount of each, ¼ of a yard is more than enough)
Thread
1/4yd of Fusible interfacing
1/4 yd of Fusible fleece
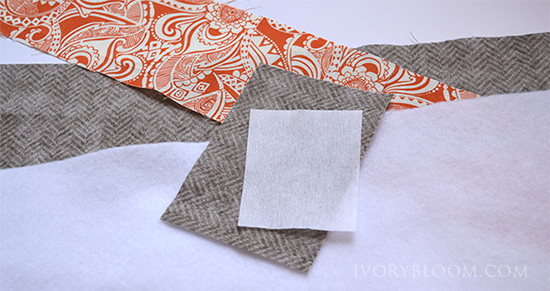
Cut:
{2} 1 piece of each fabric measuring 26”x3.75”
1 piece of choice of pocket fabric measuring 5.5”x3.75”
1 piece of Interfacing 3.5”2.75”
1 piece of Fusible fleece 24”x5.5”
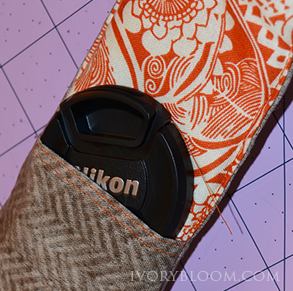
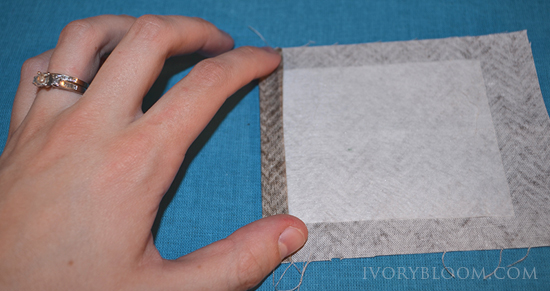
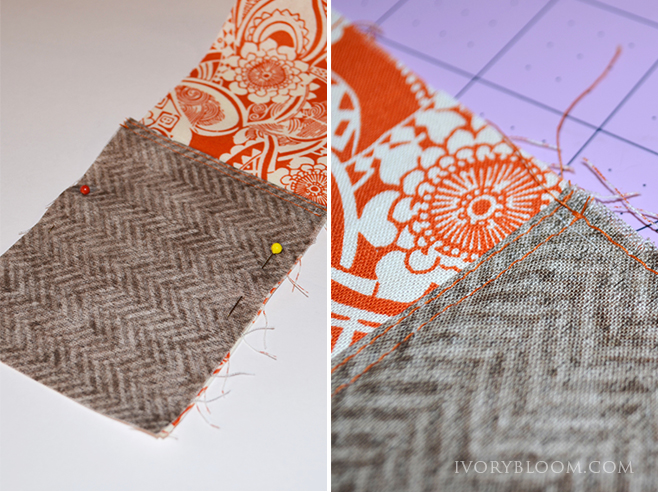
After you have cut all your pieces, Iron them nicely. This helps so much when you are sewing. Then you will iron your interfacing square onto the wrong side of your pocket piece. The interfacing will give it stability so it can hold your lens cap securely. Iron the interfacing on and then fold over one of the short sides twice and iron down. This will be the top of your pocket. Sew 2 lines at the top of the pocket.
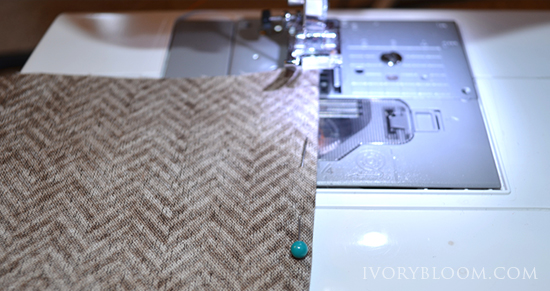
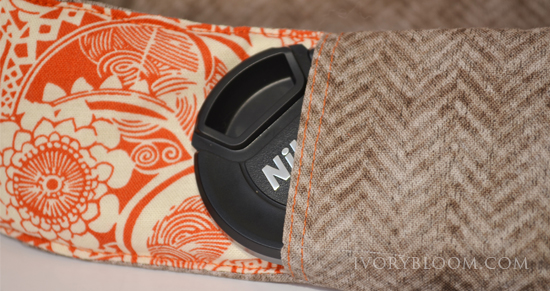
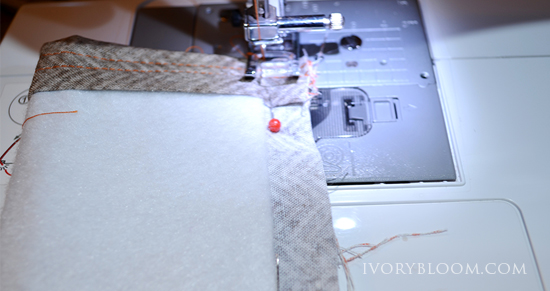
You will then put your pocket at the end of one of your strap sides. I put it on the contrasting color. Make sure to line up the undone edges with each other so that the top of the pocket is up. (Like pictured) Sew down the 2 sides pretty close to the edge.
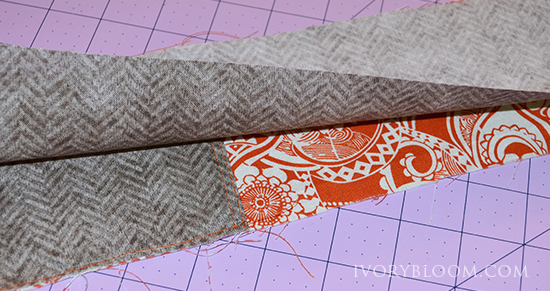
Then, pin your strap pieces together (right sides together) and sew down one side with a strait stitch. Use about a ½ seam allowance on this stitch so it is very stable. Iron your strap with the seam open in the middle.

Now, grab your cover and your fusible fleece. We will iron the fleece onto the center of the cover but first make sure the strap is the right size. Lay your camera strap down next to the fabric and measure them in comparison to each other. Your fabric cover should be about 2.5 inches longer than the generic strap. (Only measure between the 2 leather pieces. Do not include the leather and skinny connecting straps. The cover will only go over the canvas part of the strap.)
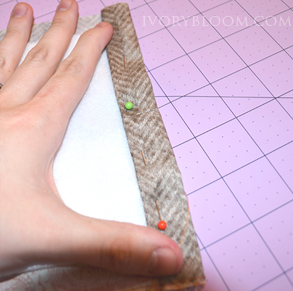
Cut the fabric (on the end WITHOUT the pocket) so that it is 2.5” longer than your canvas part of your strap. Then cut the fusible fleece So that it is .75” shorter than the fabric cover piece. Make sense? Center the fleece (rough fusible side down) on the wrong side of the fabric cover, iron down. (pictured)

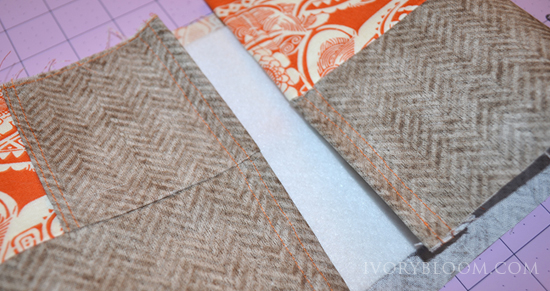
Try and get the fleece to be as secure as possible. Then finish your edges. You will do this by folding down each edge twice ending the second fold right over the fleece, so the fleece is not folding over at all. (That would make the ends too thick and hard to sew) Then do another double stitch to finish the 2 edges.
Almost done! Fold your cover in half length wise RIGHT sides together and iron (it will be folded down the middle seam). Then pin the last edges together right next to the edge of the fleece. Sew down the line.
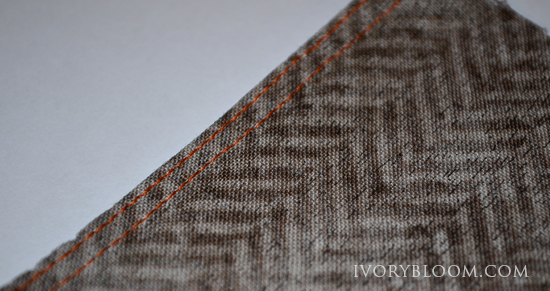
Now the hardest part, turn it right side out! I ended up using an unsharpened pencil to help it along. After you do this give it a quick iron to make sure it is nice and flat then top stitch down both long edges to give it a finished look. Stop right before you hit the pocket so that it stays open.

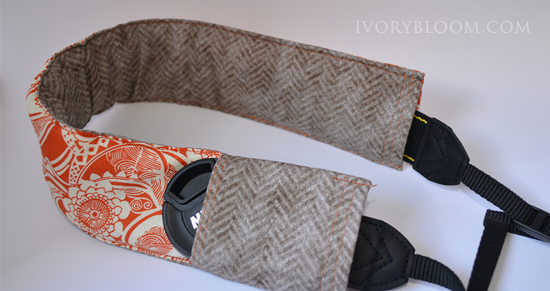
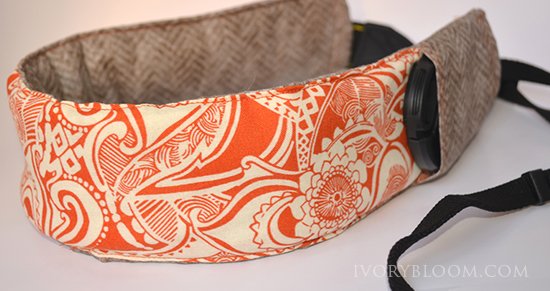
Then slip it onto your camera strap. You have a cute new custom cover!